Laboratory trials and setup
Introduction
Experimenting with ion exchange resins requires a simple setup and a few basic precautions.Resin volume
For most applications, resins are used and measured by volume, not by weight. A quantity of 50 to 250 ml of resin is usually sufficient to perform efficiency and capacity tests.Basic setup
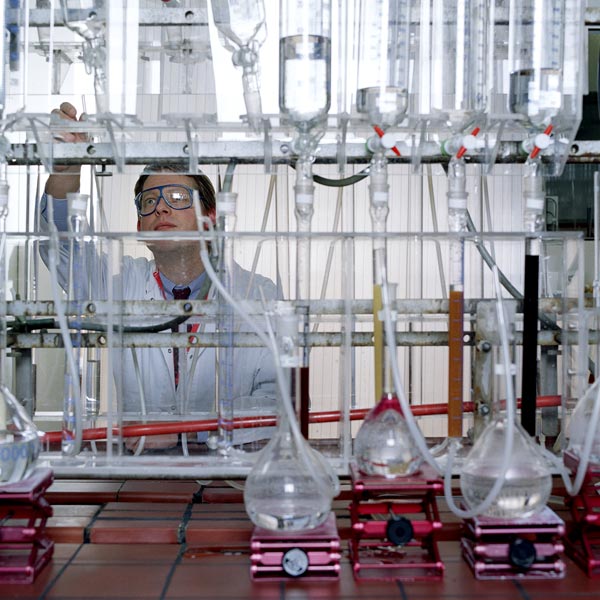
 The laboratory setup shown here can be used as an example. More sophisticated arrangements including pumps and regeneration equipment are also used. The basic setup includes:
 - A tank containing the solution to be treated.
- A small tap or a rubber tube with a screw clamp to control the flow rate.
- A column fitted with a rubber stopper.
- The ion exchange resin to be tested.
- The bottom of the column must be fitted with fritted glass. Another option is a second rubber stopper covered with a nylon cloth and a small layer of glass beads.
- Another small tap.
- The bottom tank collects the treated solution.
The operating capacity of the resin can be calculated using the information in the capacity page.
The picture shows a quantity of solution above the resin bed. It is most important never to let the column run dry, otherwise the hydraulic distribution may be disturbed and the resin may be damaged. Regeneration of the resin can be carried out in the same equipment. Regeneration steps include:
- Backwash (optional)
- Regenerant injection
- Regenerant displacement
- Rinse
| Resin volume | 50 to 250 ml |
| Column diameter | 20 to 30 mm |
| Resin bed depth | 150 to 800 mm |
| Loading flow rate | 2 to 40 BV/h |
| Regenerant flow rate | 2 to 5 BV/h |
| Regenerant contact time | 20 to 60 minutes |
| Regenerant displacement | 2 to 4 BV of water |
| Final rinse | 2 to 10 BV at service flow rate |
More than one cycle may be required
To determine the operating capacity and the leakage, it is often necessary to perform several cycles of exhaustion and regeneration. The first run made with a new, totally regenerated resin, produces generally a higher capacity and a lower leakage. After two or three cycle, an equilibrium is obtained, and the subsequent cycles should be more or less identical. Glass columns in the Lanxess laboratory